Turning an Intel T2 MacBook Into an Ubuntu Server
My 2019 Intel MacBook Pro was spending most of its time unused. The battery made it a poor laptop, but the i9-9880H, 16 GB of RAM and 1 TB NVMe SSD were still useful. Buying another Mini PC would have been the sensible option. Instead, I decided to make life difficult and turn a T2 Mac into a stationary Ubuntu Server node for Docker, testing and general homelab work.
Installing Docker and enabling SSH was the easy part. The actual work was getting Ubuntu onto a T2 Mac and keeping the i9 away from 100°C under sustained load. This article documents the setup I ended up with and the T2-specific checks I repeat after kernel updates.
TL;DR
- Use a T2Linux image instead of a stock Ubuntu Server ISO.
- Disable Apple Secure Boot and allow external booting before starting the installation.
- Install T2-Ubuntu, configure SSH, then remove the graphical desktop.
- Treat manual fan control as kernel-specific and verify the active SMC backend after every kernel update.
- Disable Intel Turbo Boost and cap the i9 at 2.3 GHz for sustained workloads.
- Set an 80% battery limit, disable lid-close suspend and provide direct airflow for stationary use.
Hardware and Goal
- MacBookPro16,1
- Intel Core i9-9880H, 8 cores and 16 threads
- 16 GB RAM
- 1 TB NVMe SSD
- Apple T2 Security Chip
- Ubuntu 24.04 from T2Linux
I wasn’t trying to turn it into a usable Linux laptop. I wanted a headless homelab node with access to the internal SSD, wired networking, SSH and temperatures low enough for long-running workloads. Audio, a desktop environment and normal laptop power management did not matter for this build.
Why the Stock Ubuntu Installer Was Not Enough
My first attempt used a regular Ubuntu Server installer. It booted, but the internal keyboard was unavailable and the installer could not see the internal SSD. The stock installer lacked the T2-specific kernel support required for the internal NVMe drive and built-in input devices on this model.
T2Linux provides Ubuntu images with the required kernel and hardware support. Before booting the installer, I entered macOS Recovery, opened Startup Security Utility, set Secure Boot to No Security and enabled booting from external or removable media. Disabling Secure Boot reduces protection against unauthorised boot media, so I kept a working macOS recovery path throughout the installation. External booting can be disabled again once Linux is installed and stable.
The current T2-Ubuntu images are available at github.com/t2linux/T2-Ubuntu/releases/latest; for this setup I used an Ubuntu 24.04 Noble image. I also used wired Ethernet through a USB-C adapter, so Wi-Fi firmware was not another dependency during installation.
MacBookPro16,1 can also power off while the installer is configuring GRUB. If that happens, the T2Linux Ubuntu FAQ recommends booting the live environment with the efi=noruntime kernel parameter.
Install T2-Ubuntu and Remove the Desktop
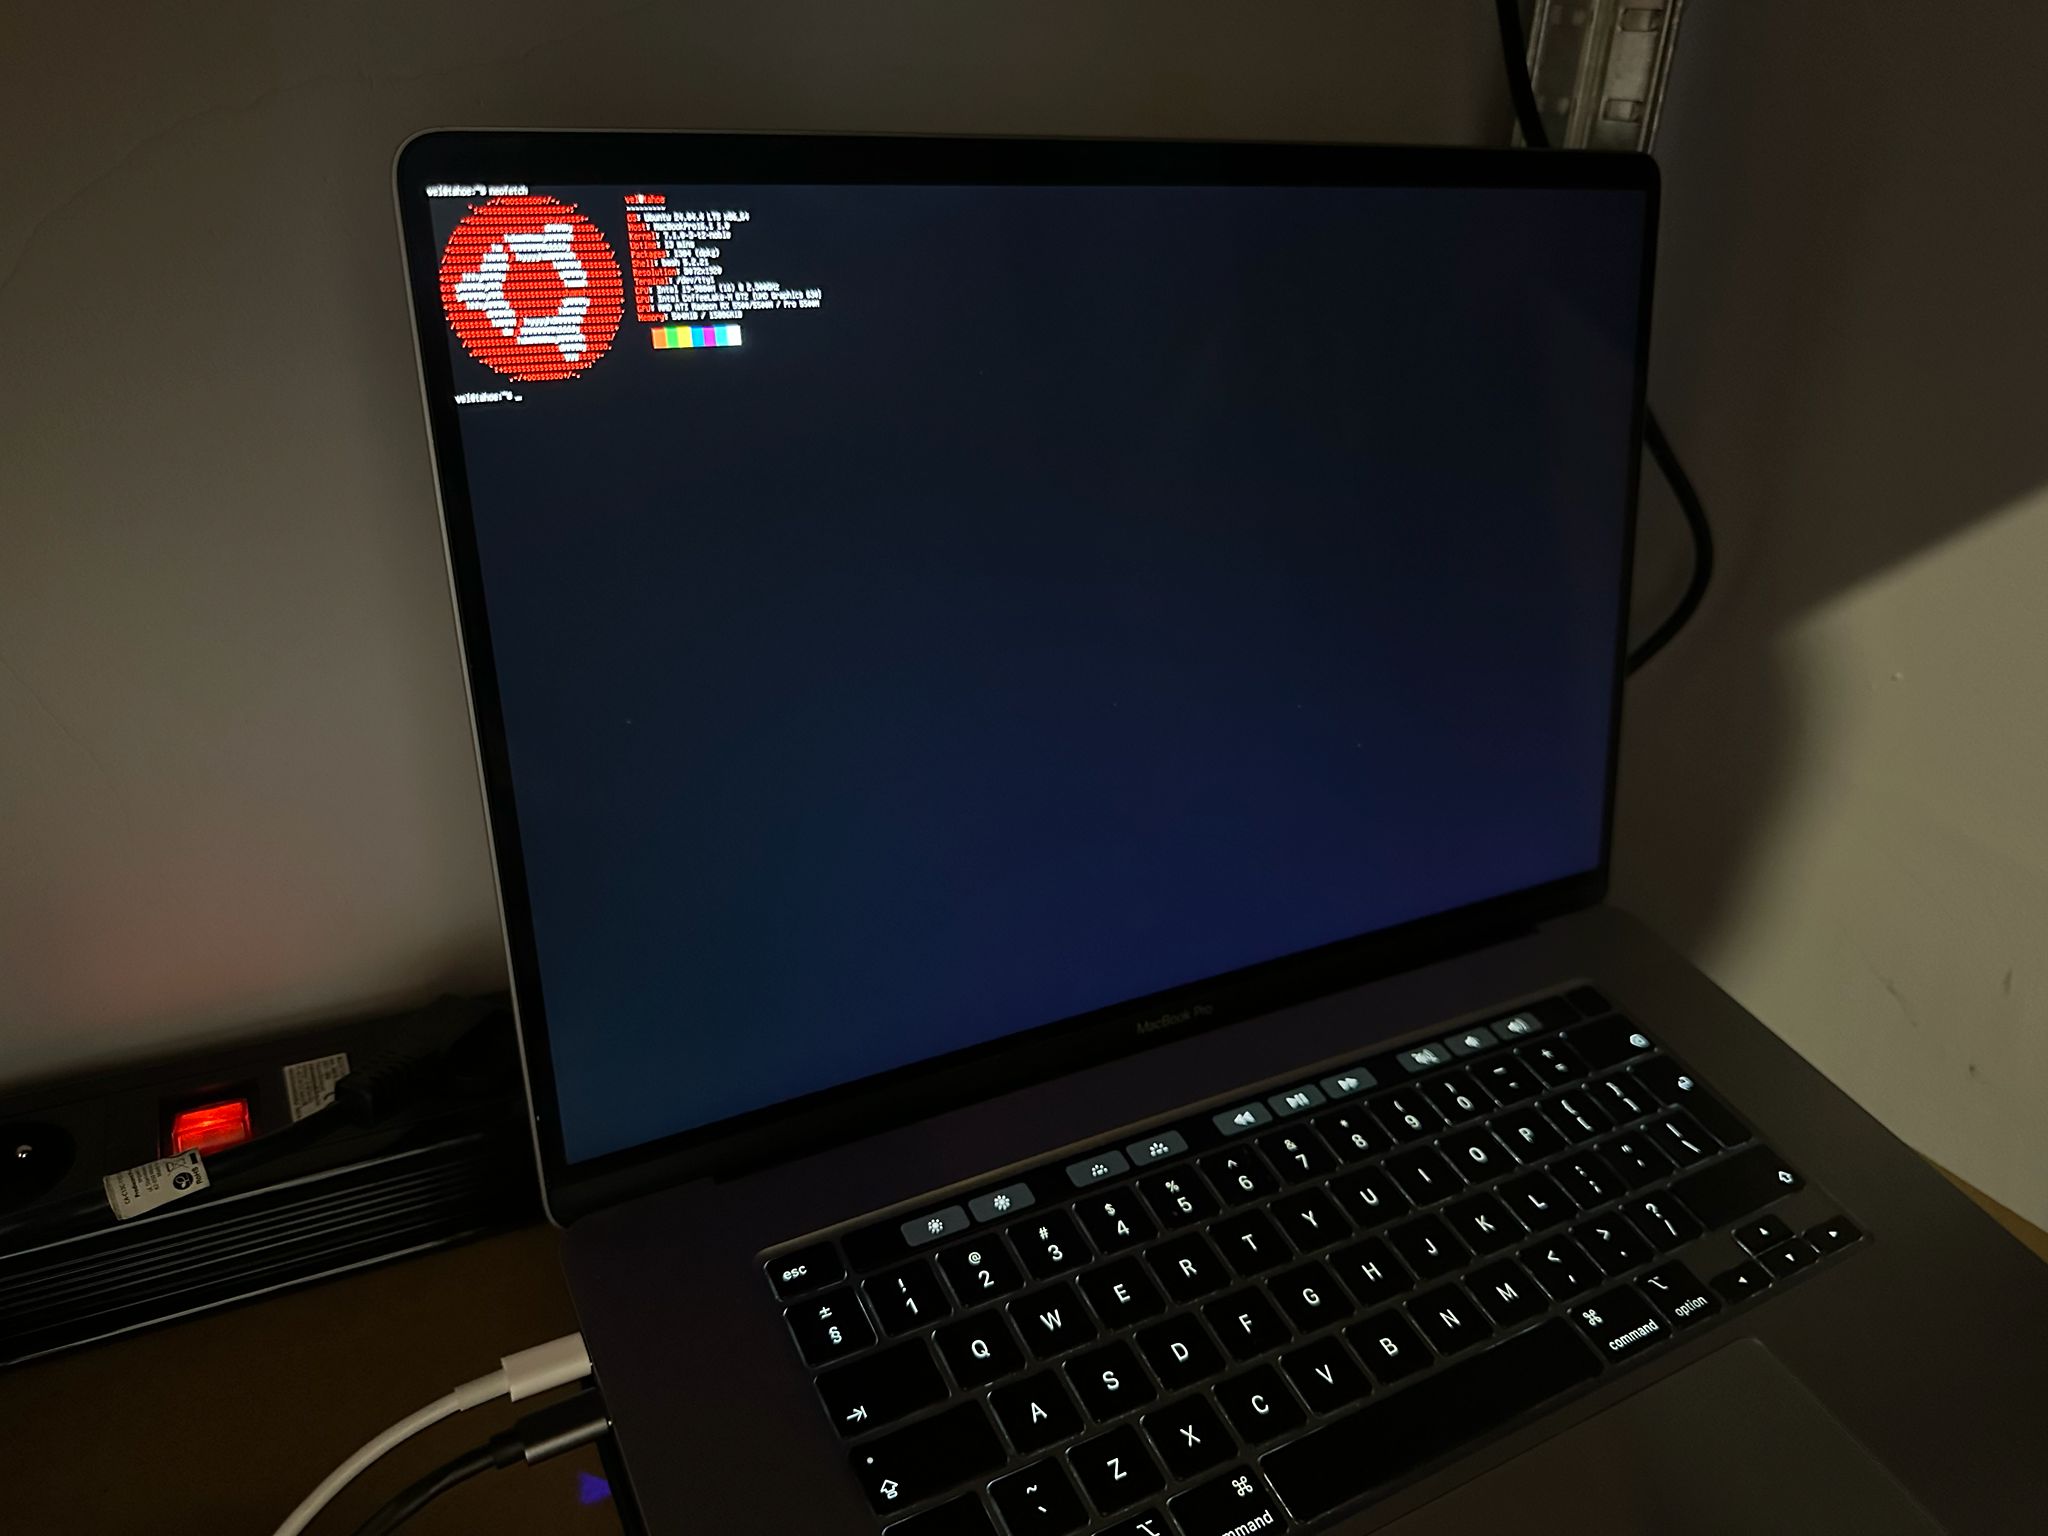
T2-Ubuntu is distributed as a desktop image rather than a dedicated Server ISO. Once it booted, the internal keyboard and SSD were available and the installation proceeded normally. After the first boot, I installed OpenSSH and the server package set before removing the graphical stack. I confirmed remote access from another machine before changing the boot target.
sudo apt update
sudo apt install ubuntu-server openssh-server
sudo systemctl enable --now ssh
I first changed the default systemd target and rebooted. After reconnecting over SSH, I disabled GDM and removed the Ubuntu desktop packages:
sudo systemctl set-default multi-user.target
sudo reboot
sudo systemctl disable gdm3
sudo apt purge \
ubuntu-desktop \
ubuntu-desktop-minimal \
ubuntu-session \
gdm3Before removing automatically installed dependencies, I reviewed the simulated operation with sudo apt -s autoremove --purge. Only after checking the package list did I run sudo apt autoremove --purge. At this point systemctl get-default returned multi-user.target, and the server was reachable through a DHCP reservation on the router and a USB-C Gigabit Ethernet adapter.
Check Fan-Control Support Before Changing Anything
Fan control on T2 Macs depends on the kernel build. Some T2Linux kernels expose the newer macsmc_hwmon interface, while others use applesmc. The available sysfs files can therefore change after a kernel update. I check the active hwmon devices before changing any fan settings.
uname -r
for h in /sys/class/hwmon/hwmon*; do
    printf '%s: ' "$h"
    cat "$h/name" 2>/dev/null
done
If an entry named macsmc_hwmon is present, I locate it dynamically because hwmon numbers are not stable between boots.
HWMON=""
for h in /sys/class/hwmon/hwmon*; do
    if [ "$(cat "$h/name" 2>/dev/null)" = "macsmc_hwmon" ]; then
        HWMON="$h"
        break
    fi
done
if [ -n "$HWMON" ]; then
    echo "Using $HWMON"
    ls -l "$HWMON"/fan*_input \
          "$HWMON"/fan*_min \
          "$HWMON"/fan*_max \
          "$HWMON"/fan*_target 2>/dev/null
else
    echo "macsmc_hwmon is not active"
fi
I only treat manual fan control as available when the correct driver is active and the target files are writable on the current kernel. If macsmc_hwmon is missing, the target files remain read-only or a write returns EOPNOTSUPP, I stop there. A userspace fan curve should not guess sensor names or continue after failed temperature reads or fan writes.
For this build, the reliable thermal controls were the CPU frequency cap and external airflow described below. After every kernel update I verify the active SMC backend, temperature readings and actual fan RPM again.
Control Sustained i9 Heat
Under a full CPU load, the i9-9880H could remain at 100°C while both fans were already at maximum speed. The cooling system was saturated, so changing the fan curve alone could not solve the problem. For this stationary server workload, I deliberately traded short burst performance for steadier temperatures by disabling Turbo Boost and limiting the CPU to its 2.3 GHz base frequency.
echo 1 | sudo tee \
/sys/devices/system/cpu/intel_pstate/no_turbo
for policy in /sys/devices/system/cpu/cpufreq/policy*; do
    echo 2300000 | sudo tee "$policy/scaling_max_freq"
done
I verified the effective values before making the change persistent:
cat /sys/devices/system/cpu/intel_pstate/no_turbo
grep . /sys/devices/system/cpu/cpufreq/policy*/scaling_max_freq
The following oneshot unit applies both settings after every reboot:
[Unit]
Description=Disable Intel Turbo Boost and cap CPU frequency
ConditionPathExists=/sys/devices/system/cpu/intel_pstate/no_turbo
[Service]
Type=oneshot
ExecStart=/bin/sh -c 'echo 1 > /sys/devices/system/cpu/intel_pstate/no_turbo; for p in /sys/devices/system/cpu/cpufreq/policy*; do echo 2300000 > "$p/scaling_max_freq"; done'
RemainAfterExit=yes
[Install]
WantedBy=multi-user.target
I saved it as /etc/systemd/system/t2-cpu-cap.service and enabled it with:
sudo systemctl daemon-reload
sudo systemctl enable --now t2-cpu-cap.service
Make the Laptop Server-Friendly
Battery Charge Limit
A stationary machine does not need to keep its battery at 100%. Depending on the active driver, a T2 kernel can expose charge_control_end_threshold or battery_charge_limit. I locate the available attribute instead of assuming a fixed battery name or sysfs path.
LIMIT_FILE=$(find -L /sys/class/power_supply \
    \( -name charge_control_end_threshold \
       -o -name battery_charge_limit \) \
    -print -quit)
if [ -n "$LIMIT_FILE" ]; then
    echo 80 | sudo tee "$LIMIT_FILE"
else
    echo "No supported charge-limit attribute found"
fi
If the search returns no path, the current battery driver does not expose a supported charge-limit control. I also verify the value after a reboot because availability and persistence can change with the active kernel and battery backend.
Disable Lid-Close Suspend
I created a dedicated drop-in at /etc/systemd/logind.conf.d/10-server-lid.conf instead of editing the main configuration file:
[Login]
HandleLidSwitch=ignore
HandleLidSwitchDocked=ignore
HandleLidSwitchExternalPower=ignore
sudo systemctl restart systemd-logindClosing the lid no longer suspends the system.
Physical Cooling
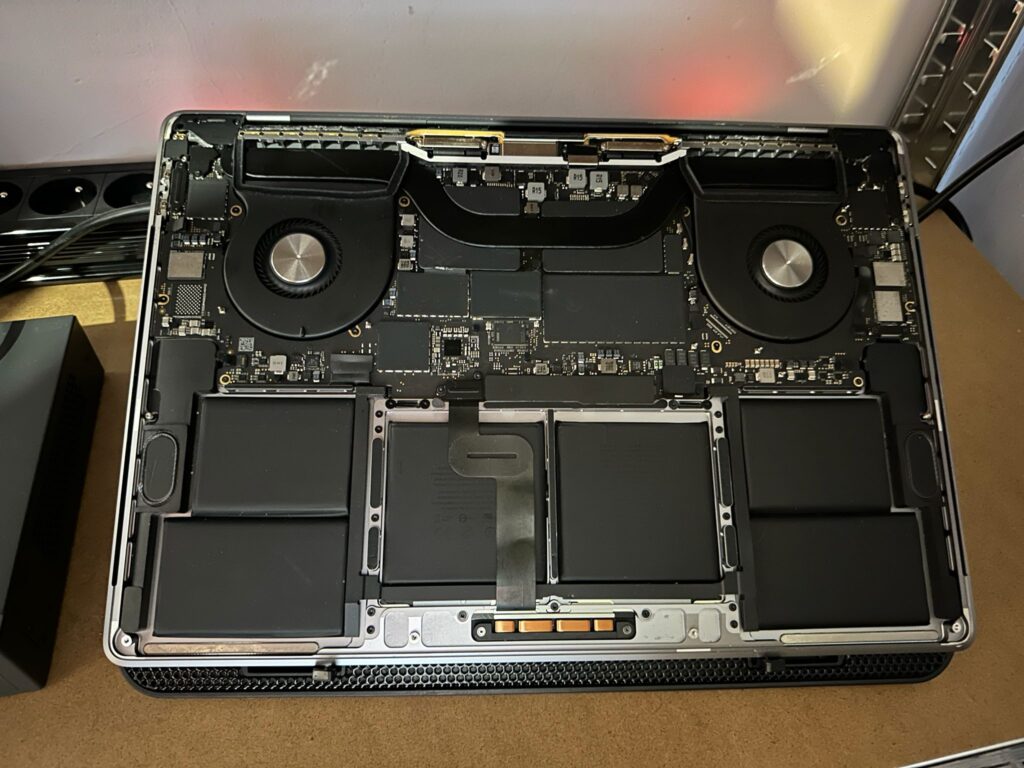
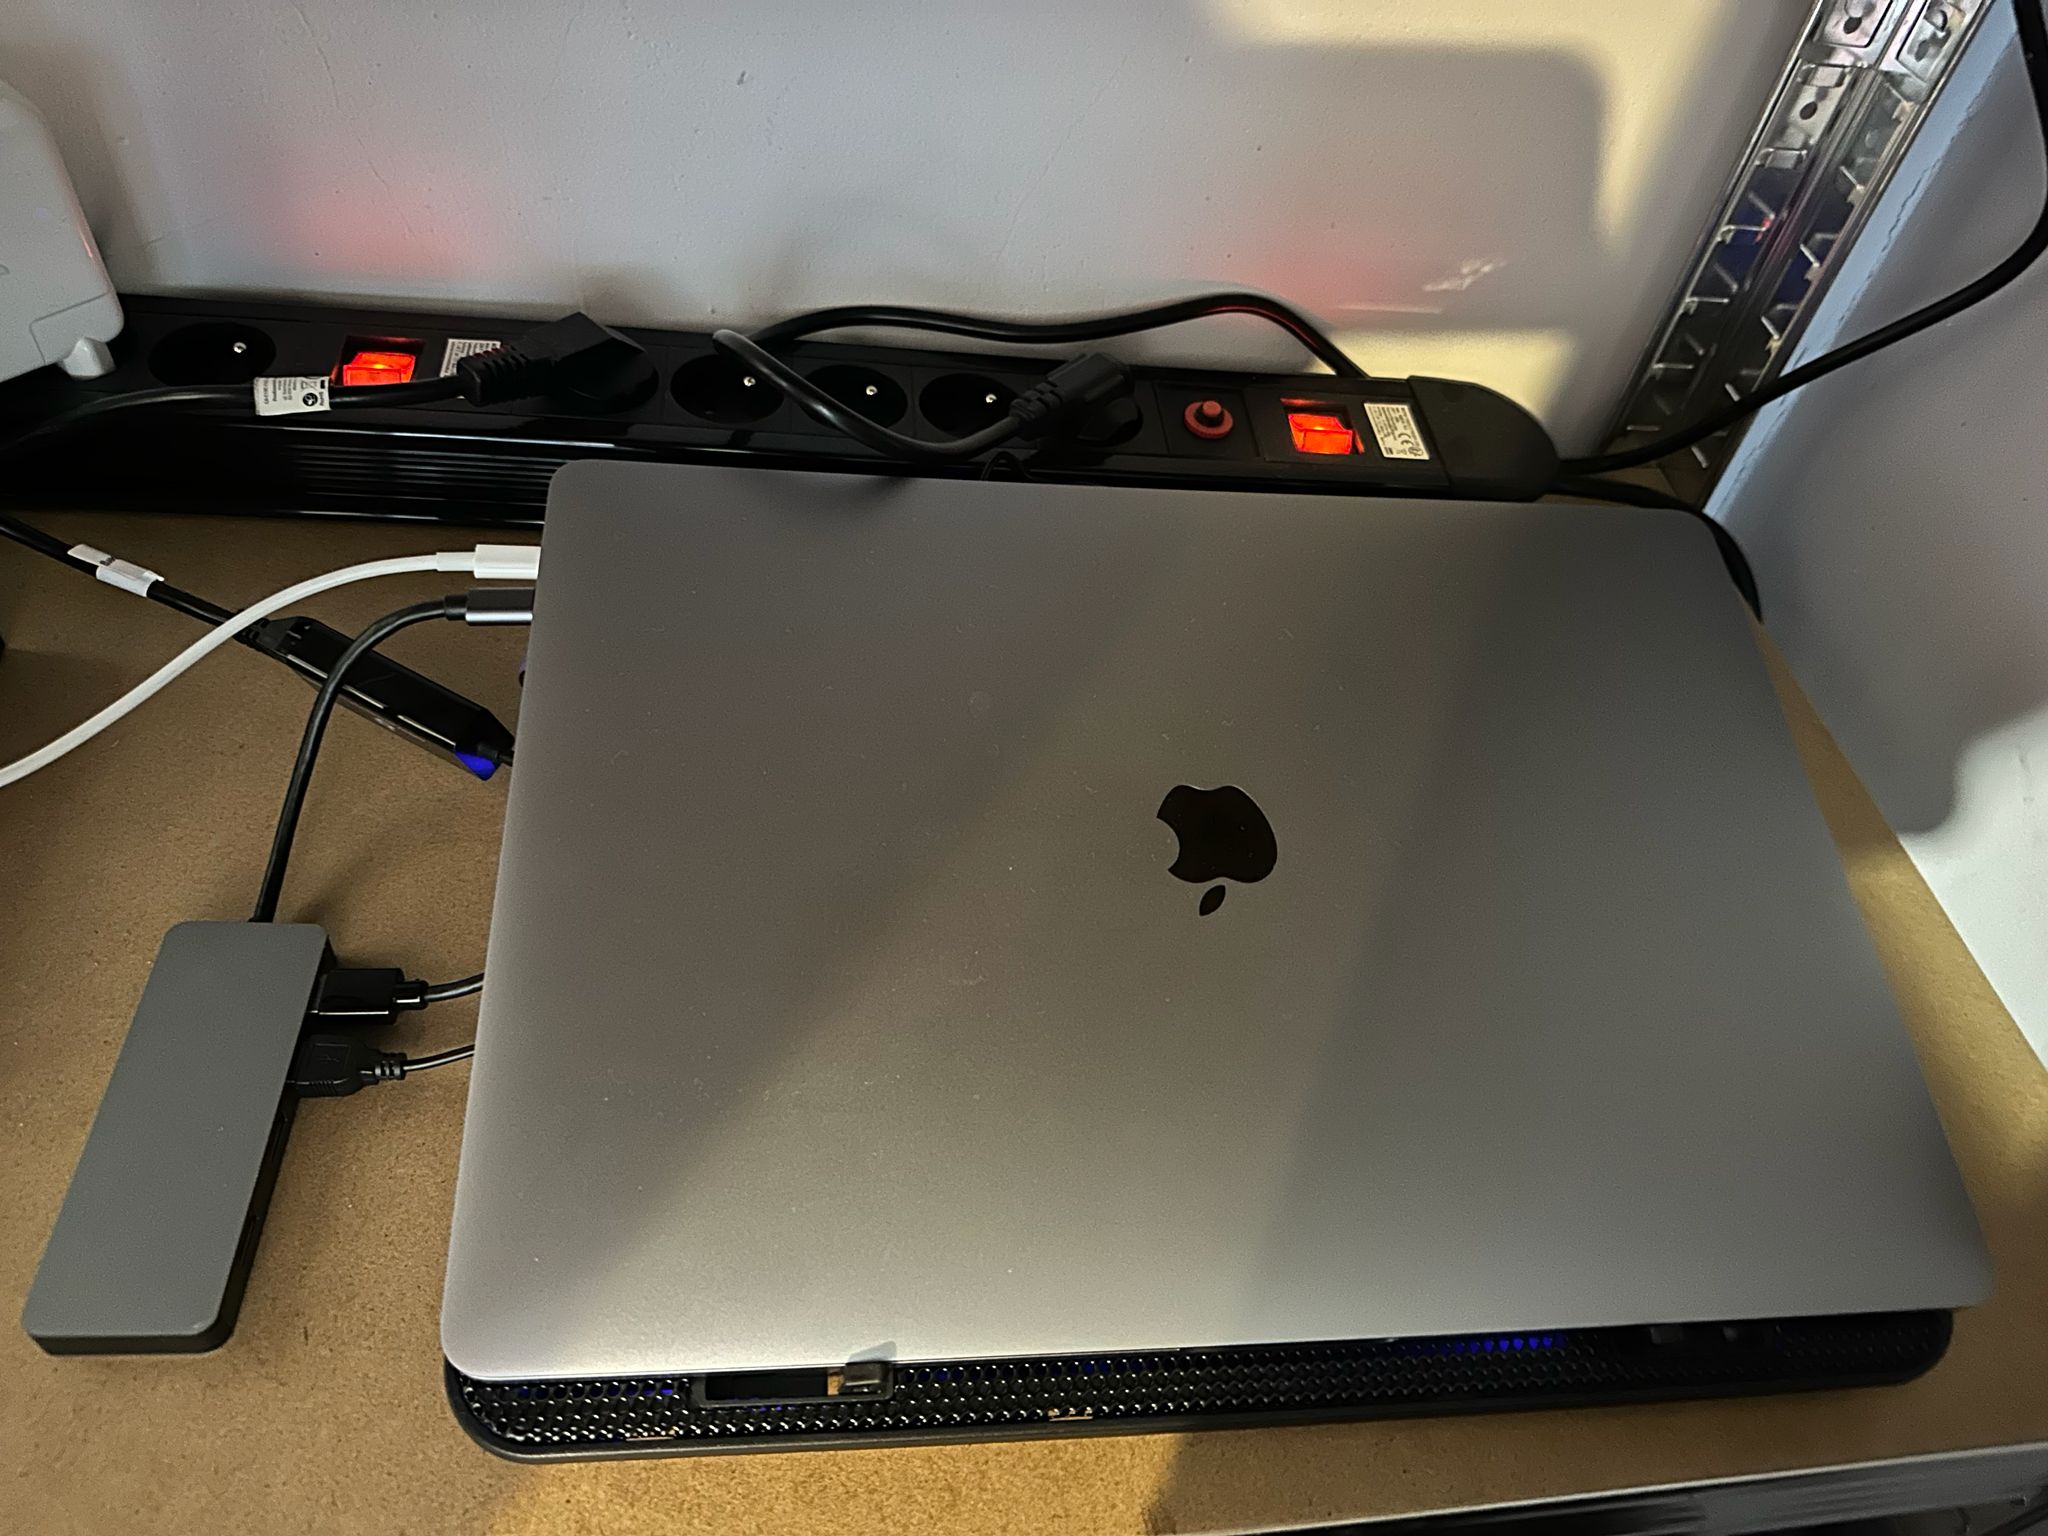
The CPU limits were not enough on their own, so I placed the MacBook on a cooling pad and removed the bottom cover. Direct airflow across the heat sink and board reduced the steady-state temperature and kept both fans away from maximum RPM during normal workloads.
This is an experimental setup for a stationary node, not a general recommendation for laptop use. The exposed internals are more vulnerable to dust, electrostatic discharge and mechanical damage, so the machine stays on a stable surface and needs regular inspection.
Final Configuration
- Ubuntu 24.04 from T2Linux
- SSH-only operation with no graphical login
- Intel Core i9-9880H capped at 2.3 GHz
- Intel Turbo Boost disabled
- SMC backend, temperature readings and fan RPM checked after kernel updates
- Battery charge limited to 80% when supported by the active driver
- Lid-close suspend disabled
- USB-C Gigabit Ethernet with a DHCP reservation
- Cooling pad with direct airflow to the internal components
Verify It Under Load
I tested the finished setup under CPU load and checked temperatures, the frequency limit, the CPU-cap service and the kernel log. The command below runs for 15 minutes:
sudo apt install stress lm-sensors
stress --cpu "$(nproc)" --timeout 900
In a second SSH session:
watch -n 1 \
'sensors; echo; grep . /sys/devices/system/cpu/cpufreq/policy*/scaling_cur_freq'
I also checked the CPU-cap service and recent kernel warnings:
sudo systemctl status t2-cpu-cap.service
sudo dmesg --level=err,warn | tail -n 100
Before tuning, the CPU could remain at 100°C with both fans already at maximum speed. With Turbo Boost disabled, the frequency capped at 2.3 GHz, the bottom cover removed and the cooling pad running, this machine settled around 55°C – 60°C under sustained load. Ambient temperature, thermal paste and workload will affect the result, but repeated tests produced stable behaviour on this setup.
Conclusion
The MacBookPro16,1 now works as a stable SSH-only Ubuntu Server node for my homelab. T2Linux provides the hardware support, while the CPU cap and direct cooling make sustained workloads practical. The remaining T2-specific maintenance step is checking the active SMC backend, temperature readings and exposed sysfs paths after kernel updates.
Images, release notes and installation details are available in the T2-Ubuntu repository.